WEEKEND PROJECT: Pretty covered boxes
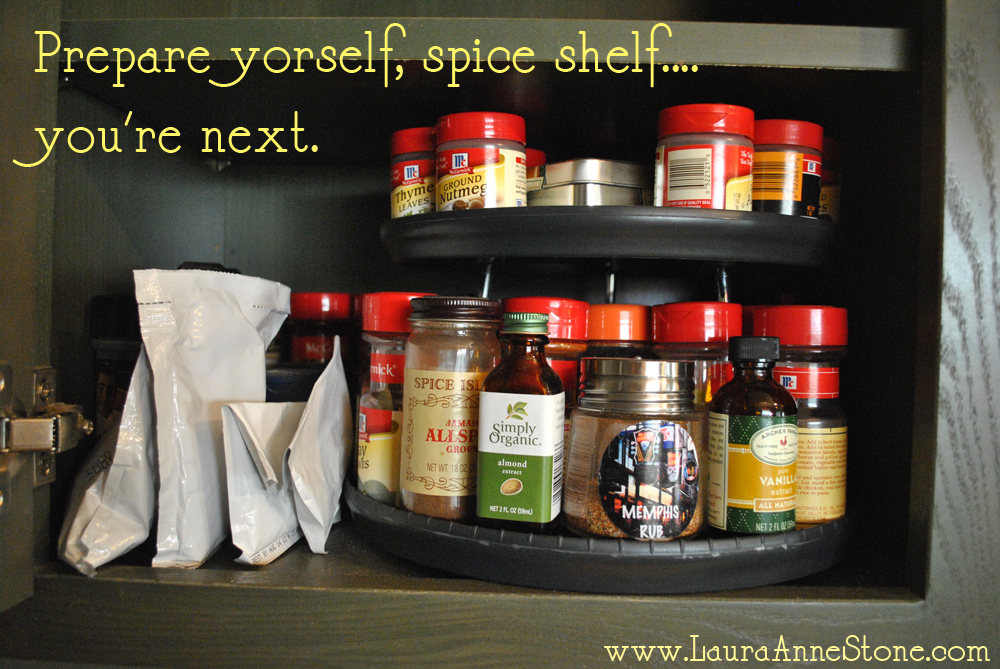
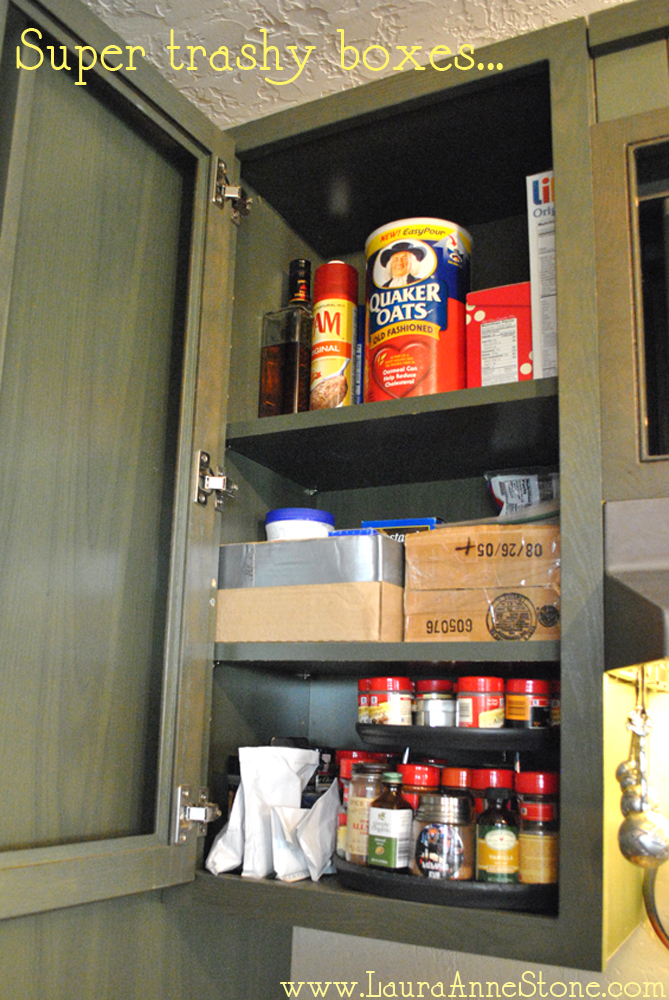
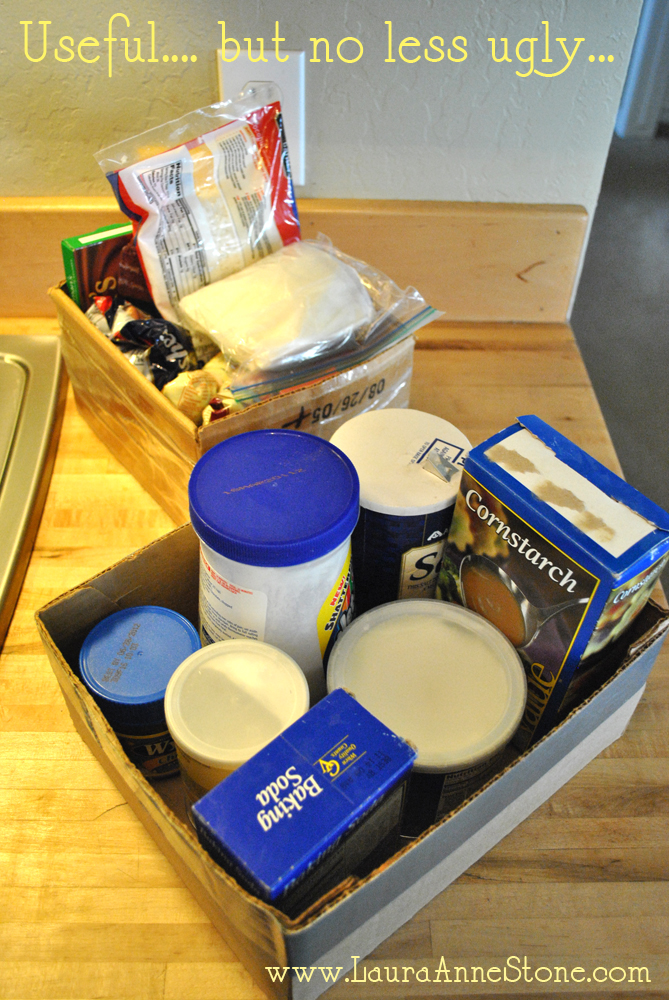
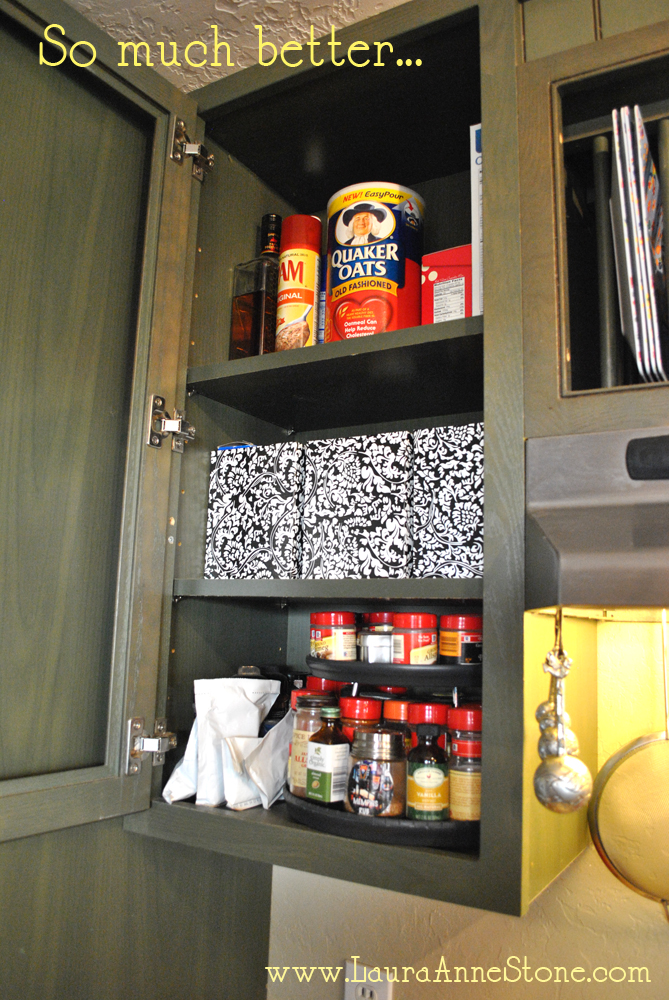
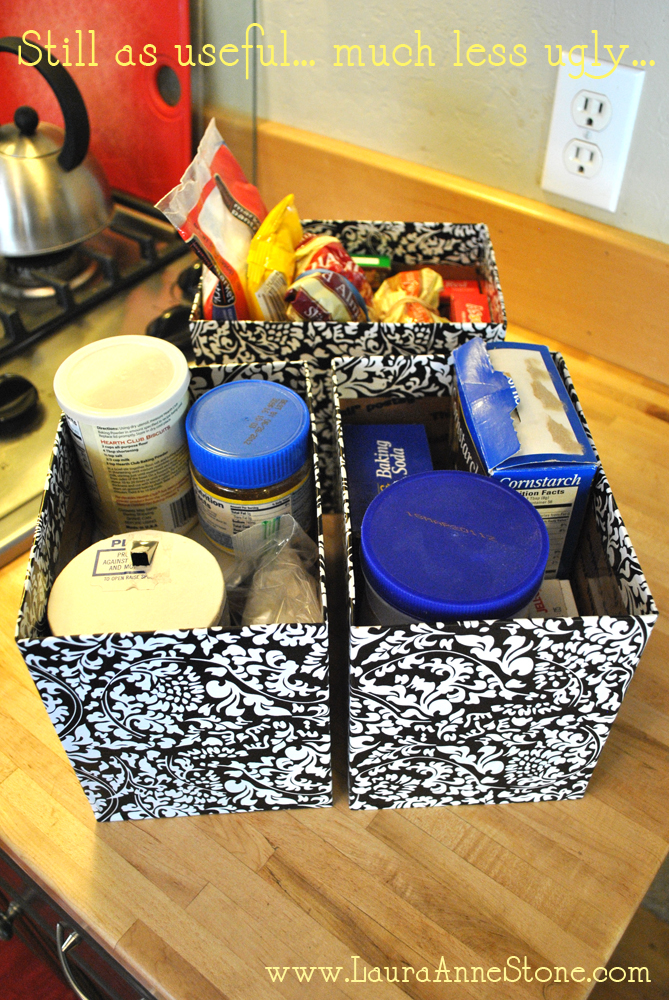
A few weeks ago while I was waiting for my camera to charge so I could tackle my giant stack of potential eBay revenue, I decided I was tired of looking at my super trashy kitchen organization. Of course I still don’t have glass in the cabinet doors, but at least I can make what’s behind them a little more attractive…
I used Con-Tact shelf liner because it’s an incredibly easy and inexpensive way to finish this project. Con-tact also makes other cool stuff such as cork, chalkboard, faux wood, and probably every color or pattern you could want. That doesn’t mean you couldn’t use fabric, cardstock, Duck Tape sheets, or really just about anything else that will stand up to the intended use of your boxes.
Anyhow, so to begin, gather your supplies…
You will need:
- Sticky-sided covering (or non-sticky-sided covering and adhesive) such as Con-Tact shelf liner
- Some sort of measuring tool (I prefer a yardstick, it’s a wise 97¢ investment)
- Some sort of marking utensil (I used a cheap ballpoint pen, another wise investment)
- Sharp scissors (sharp scissors just help keep your edges neat and clean but you don’t need anything fancy, so long as you haven’t been using them to cut through rocks you should be alright)
- Clear packing tape (optional)
- Boxes
Instructions:
- Measure your space. If you’re making these to fit in a cabinet, don’t forget to measure the opening not the space within your cabinet, unless you plan to never take them out. Then, find or make boxes that fit your needs. I used box tops left over from shipping, I totally lucked out that I had three close enough in height that I could size up pretty quickly. If you are using a solid color covering, try to find solid-colored boxes so the writing or logos don’t show through your covering. Foamcore leftovers make great solid-colored, sturdy boxes.

- Plan your attack… on your covering. I rolled mine out and tried to find the least-wasteful way to cut my pieces. You’ll be using one long piece to cover each box so try to estimate by laying it out like gift wrap (be sure to leave an inch or so extra so there won’t be a gap where the ends meet). As for the height, decide how much you want your covering to go down inside your box and how far around the bottom you want it to go, then add that amount to the width of your strip of covering. To use good ol’ math as an example, my boxes were about 6.5″h x 8″w x 5″l, I wanted the bottom to be wrapped under about 1″ and the inside to fold over about 1.5-2″. I made my Con-tact paper strips about 27″ long and about 9″ tall. Always err on the side of caution and overestimate how much your pieces should overlap or fold over. Mark your cut lines and then by all means check your measurements again.

- Measure twice and cut once. I cut all my pieces at once time, I definitely suggest the same for anyone making multiple boxes.

- Wrap your cover around the box and determine where you want your seam to be. Mark on your box where to start the strip (mark where the underneath end will start). With my busy damask print I didn’t have to end on a corner, but if your boxes won’t be hidden in a cabinet or you are worried about matching the pattern, end on a corner or a side that won’t be seen to mask the seam.

- Peel the backing and carefully line up your cover, starting with your starting line, making sure to place your box the desired distance from the top and bottom of the strip. I found it was easiest to peel back the backing to where a corner would fall, fold the backing straight back, and use that straightedge to line up my box. Then fold over and smoothing one side at a time, continuing until all sides are covered.

- Keeping the box on its side, snip skinny wedges out of the corners on the bottom side. These wedges help keep the pesky sides from showing when you wrap around to the bottom.

- Keeping the box on its side to avoid crumpling the loose top covering, fold over the bottom pieces being sure to pull them tight to keep them smooth.


- Cut and fold over the top pieces the same as the bottom.


- Traditional Con-tact adhesive is made to be repositionable, this is great for easy manipulation but can make it come loose over time. If you think you need it- and I highly recommend you do- use clear packing tape across the bottom and inside top edges to secure them in place. It shouldn’t be necessary for the edge seam.
- If you want to line the inside of the boxes as well, measure the sides and bottom of your box and cut a piece to accommodate this in a “+” shape (as if you had cut your box down its sides and laid it out flat- the bottom of the box is the center square, the left and right sides are the left and right squares, and the front and back sides are the top and bottom squares). Make the height about .5-1″ shorter than the actual height of the box so your liner won’t fold over the top and show from the outside. (Sorry no photos of that, I didn’t line the inside of my boxes.)
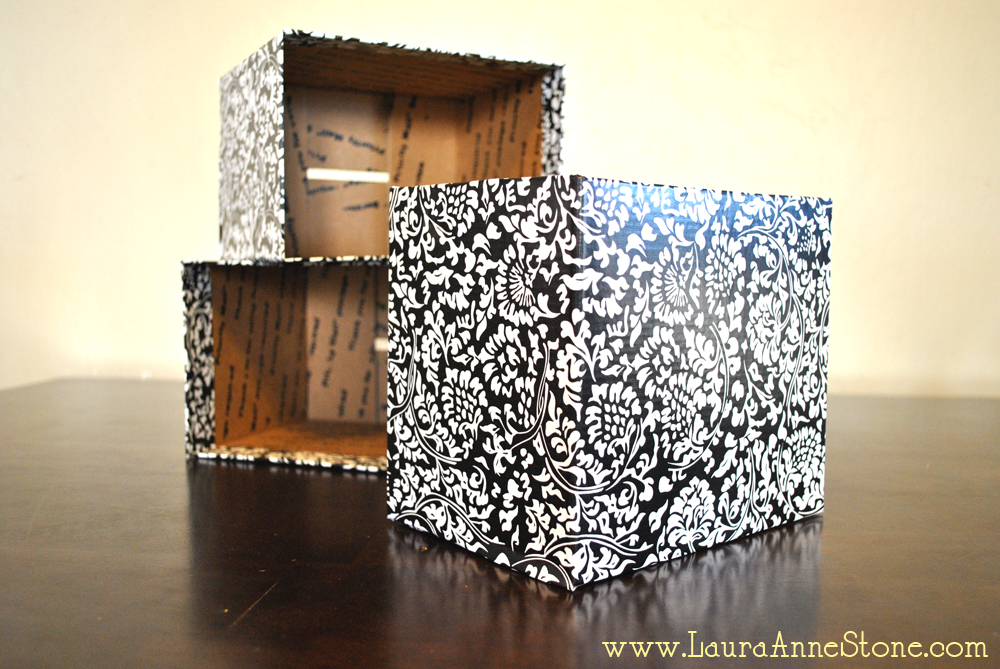
So there you have it, nicely covered boxes that aren’t nearly so trashy as the oil-stained boxes I had. I think I’ll use this technique more, it could be used for shallow catch-alls or trays, creating cheap and pretty magazine organizers, all sorts of things.
Now to find a solution to the overcrowded spice shelf….
