WEEKEND PROJECT: Pine Cone Door Hanger
About this time last year I wrote about not decorating because I was busy… and lazy. But mostly busy. Anyhow, this year I’ve been just as busy but I’ve done much better.
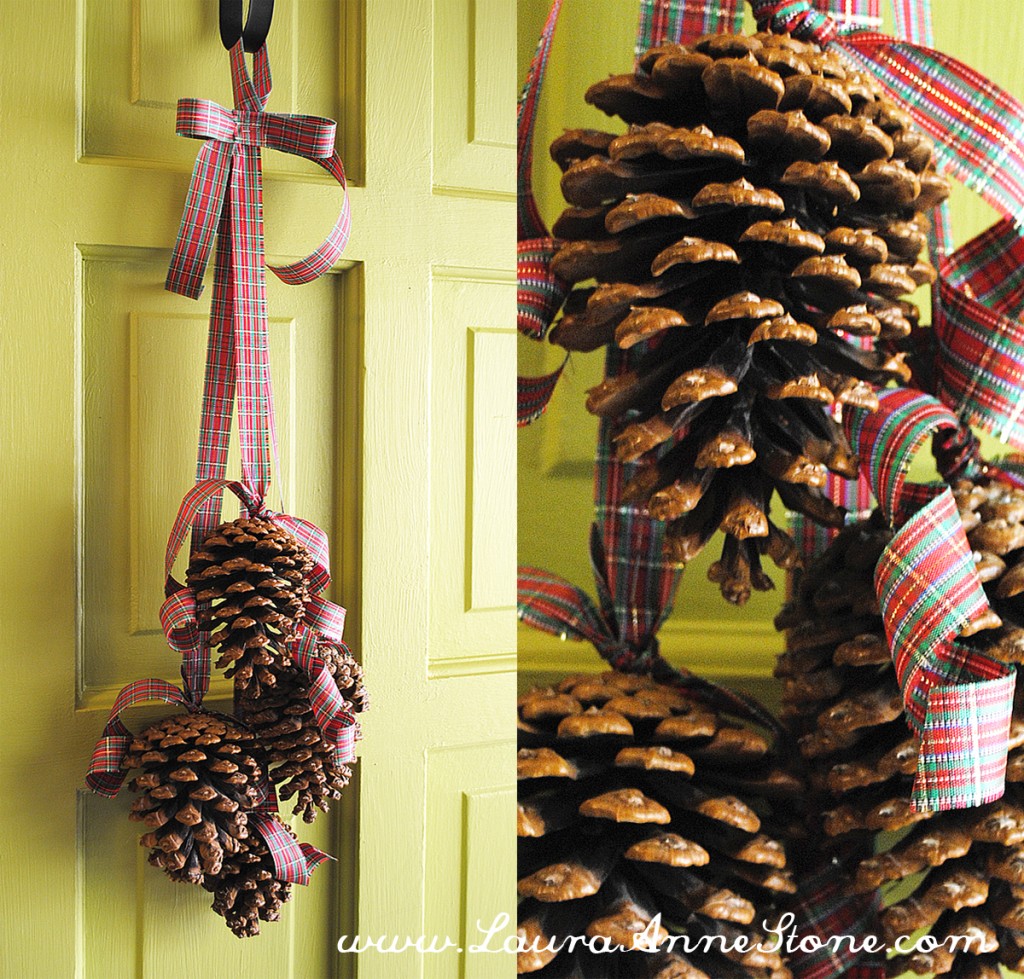
Because the door had been naked since Halloween, I decided start there. I didn’t want to get out on Black Friday so I decided to just use what I had around the house. I must admit, I was a little skeptical because although Google Image usually gives me some really great examples of how to execute my ideas, most versions of this looked weird. Also, I was originally going to use a velvet or burlap ribbon and this cheap ribbon was just to show how it looked before I cut up the good stuff. This one actually looked pretty good so I didn’t bother remaking it, but if you look closely you can see it’s flaws so next year’s will probably be a little fancier.
Oh yeah, and miraculously this project only took about 15 minutes and didn’t cost me anything! Ok, enough rambling, here’s how to make this…
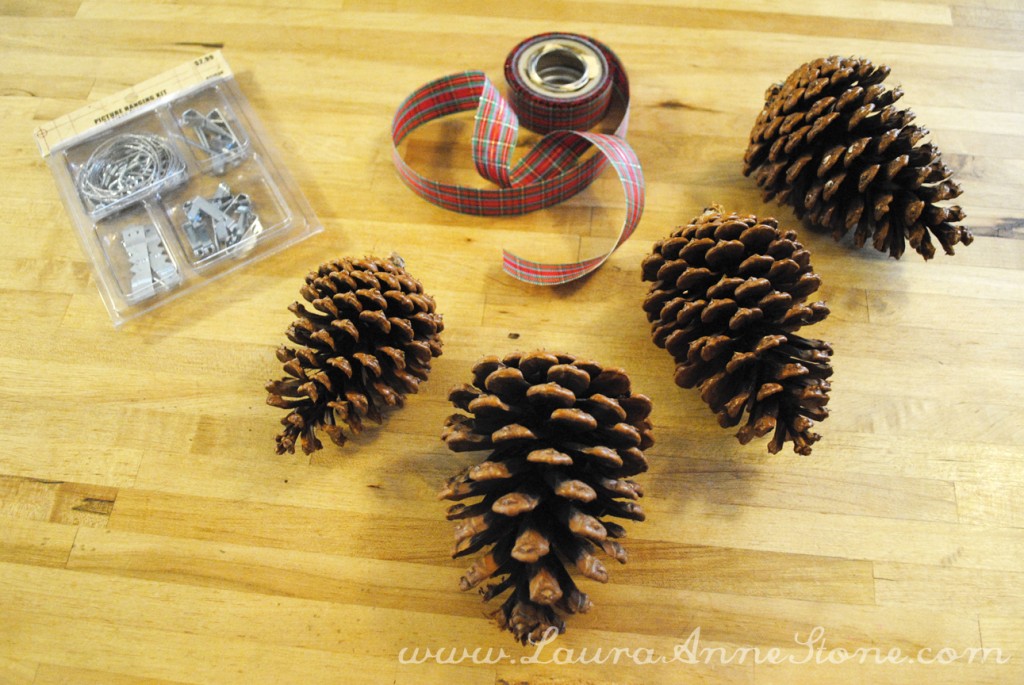
You will need:
- Pine cones (enough for your door, I didn’t use very many because my tree drops nice fat cones and more than four would get squished between my wood door and storm door)
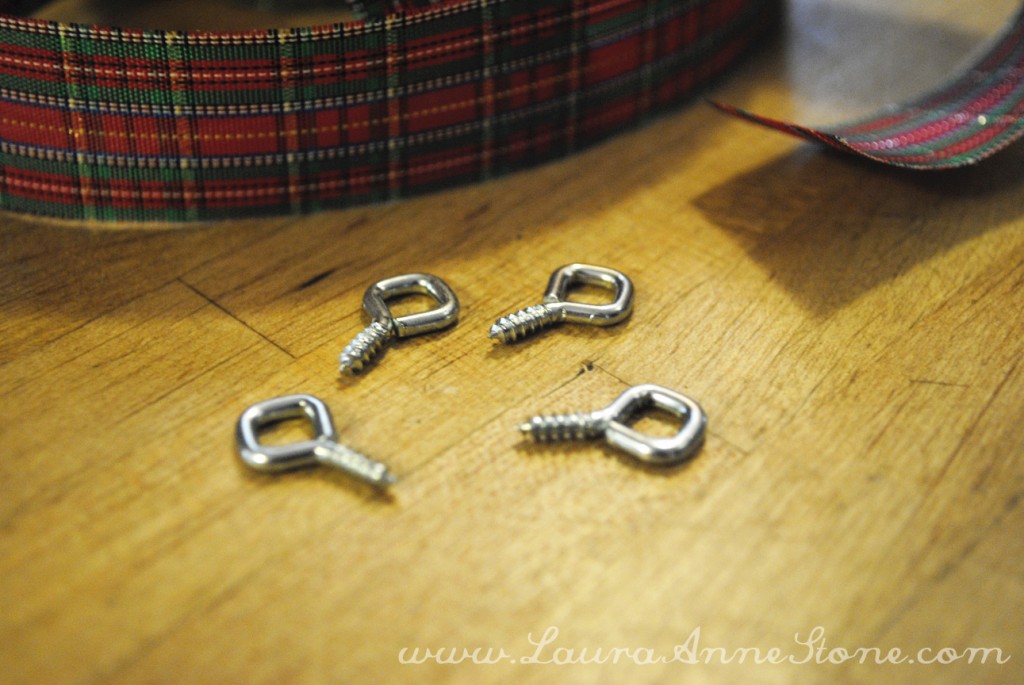
- Screws (I used eye-bolt type screws that came in a picture hanging kit, but any pointy self-tapping screw would probably work)
- Ribbon (I used about 6-8 feet for four cones; add about 18 inches for each additional cone, or up to 24 inches if you’re making a really long display)
- Staples or needle and thread (staples worked well and blended with my cheap ribbon but if I had used a nicer ribbon I definitely would have used thread)
Directions:
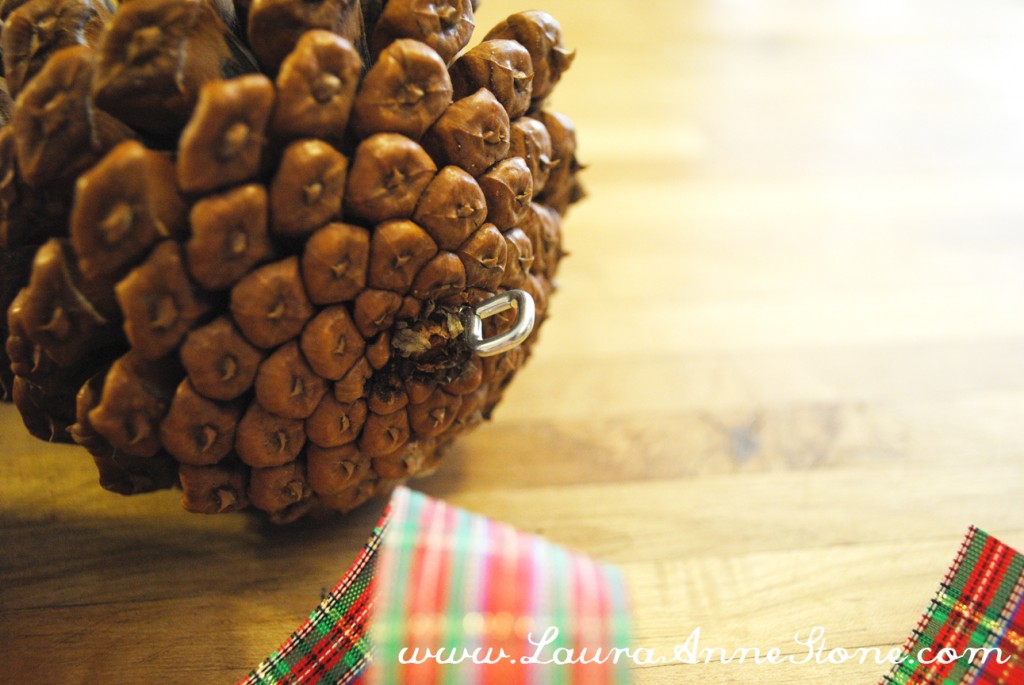
- Twist the screws into the stem end of the cones. My cones’ stems split so I actually just put them into a dense part near the stem.
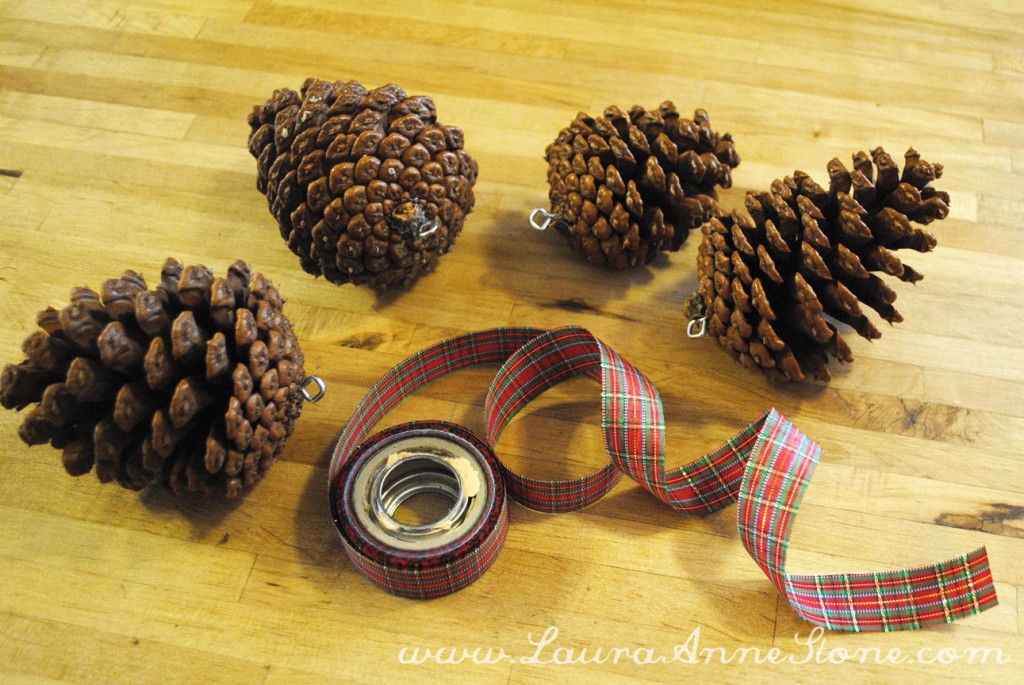
- Lay out your pine cones to get an idea how you want them to hang, I staggered mine so they hang straight down and don’t bunch up. Once you have an idea how you want them to hang, cut your ribbon to the approximate length plus 2 inches (e.g., my lowest one is about 18 inches from the wreath hook so I cut 20 inches of ribbon for that one)
- Thread the ribbon through the eye and pull a 1 inch tail out the other side. Stitch or staple the tail up against the back of the longer portion of the ribbon, sort of like a hem, to hold the pine cone (if you are using regular screws, you may want to run the screw through the ribbon before twisting it into the cone, making sure to leave a tail long enough to fold up and stitch or staple)
- Once all your cones are strung, hold them up and see how they look. This part is a little tricky and the easiest way to layer them is longest in the back, shortest in the front. It also helps if you can pinch the ends together and hold them up against a wall to make sure they’ll look the way you want when hanging. Staple or stitch the ends together, running the staple or stitch through all the layers at once. Trim the ends so they are even.
- Make one loop to hang it by and staple or stitch it securely to the ends, then make a decorative bow (with or without tails and as pouffy or flat as you like, mine is tailed but flat) and staple or stitch it to the top, hiding the ends. Then either tie a bow at the base of each cone or, like I did, just tie a long piece of ribbon to give them some streamers. If your ribbon just hangs straight, you probably want to do a bow. Also, it may be easier to make a bow and staple or stitch it on, rather than trying to tie each one just right.
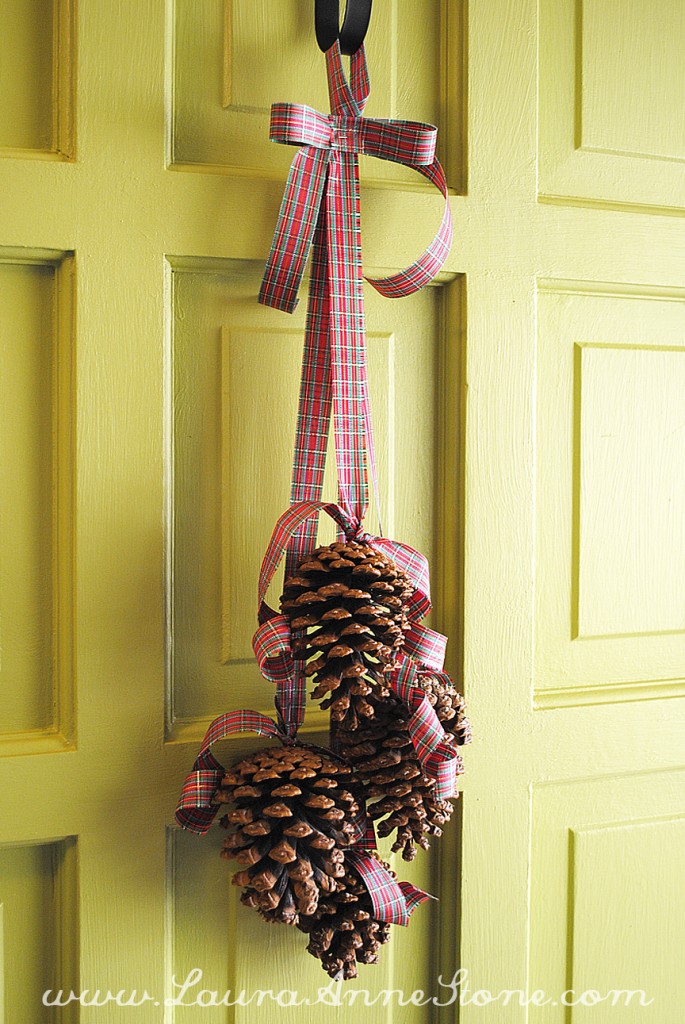
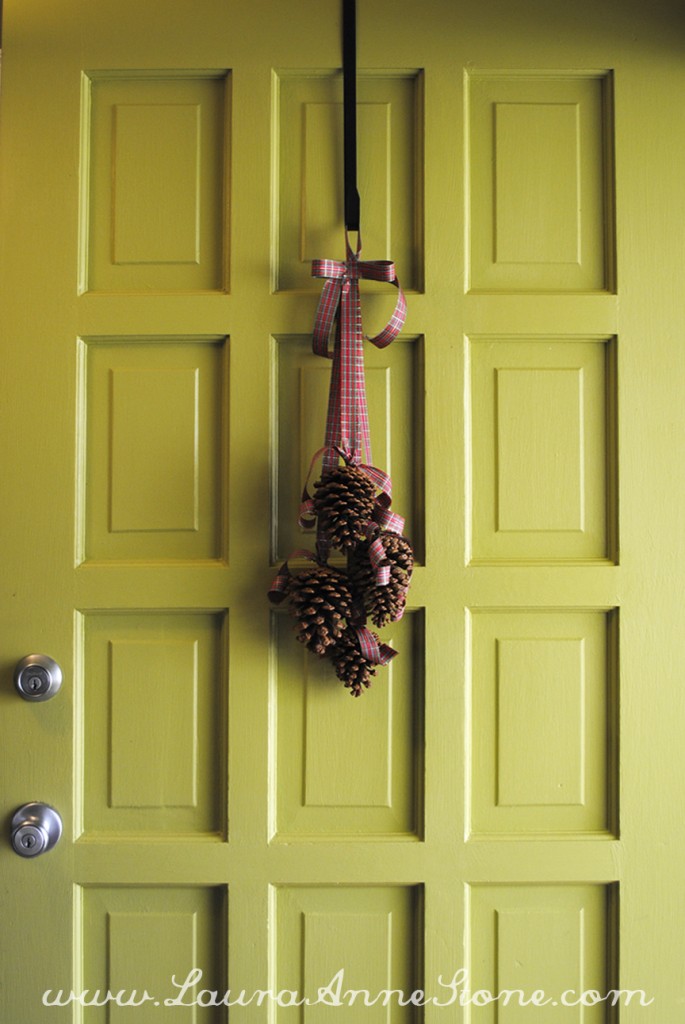
That’s about it. I didn’t take many photos mid-build because, as I said, I thought this was the test version. Fortunately this is a pretty simple project. I’ve done a few other craft projects these past few weekends so hopefully I can get those posted this week as well. Until then, happy crafting!
Thank you, love this