Windows Pt. 3 – Sash Repair
When we moved in, my mother gave us a book titled Working Windows by a man named Mr. Window. Actually I think his real name is Terry Meany, but he refers to himself as Mr. Window. Anyway, the book has diagrams, examples and all sorts of helpful information about repairing and restoring antique windows. I highly recommend it to anyone considering window repair.
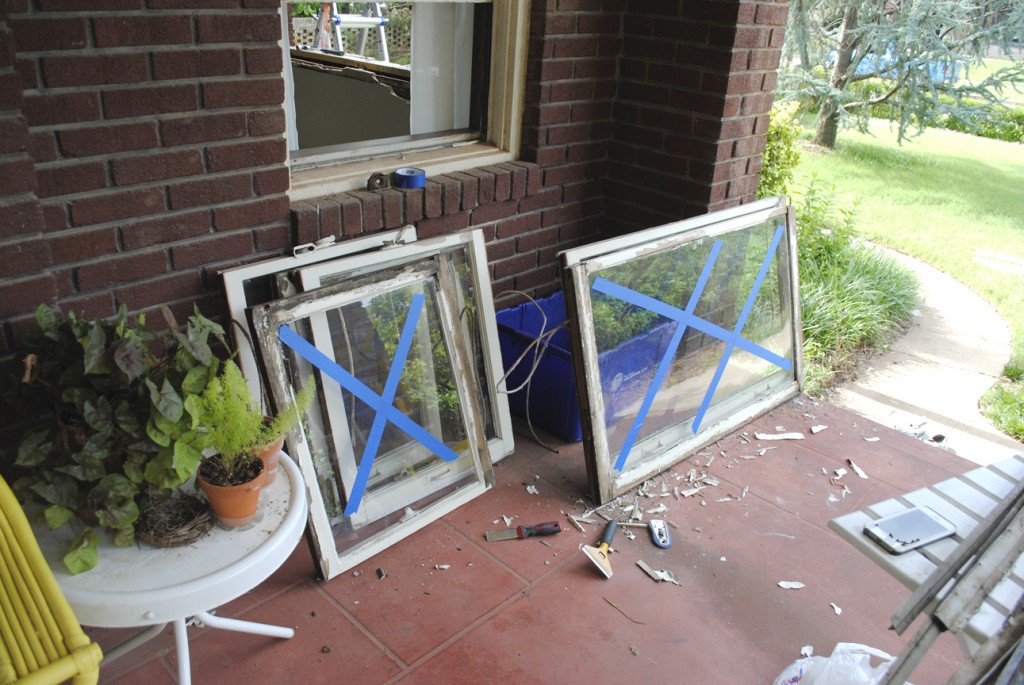
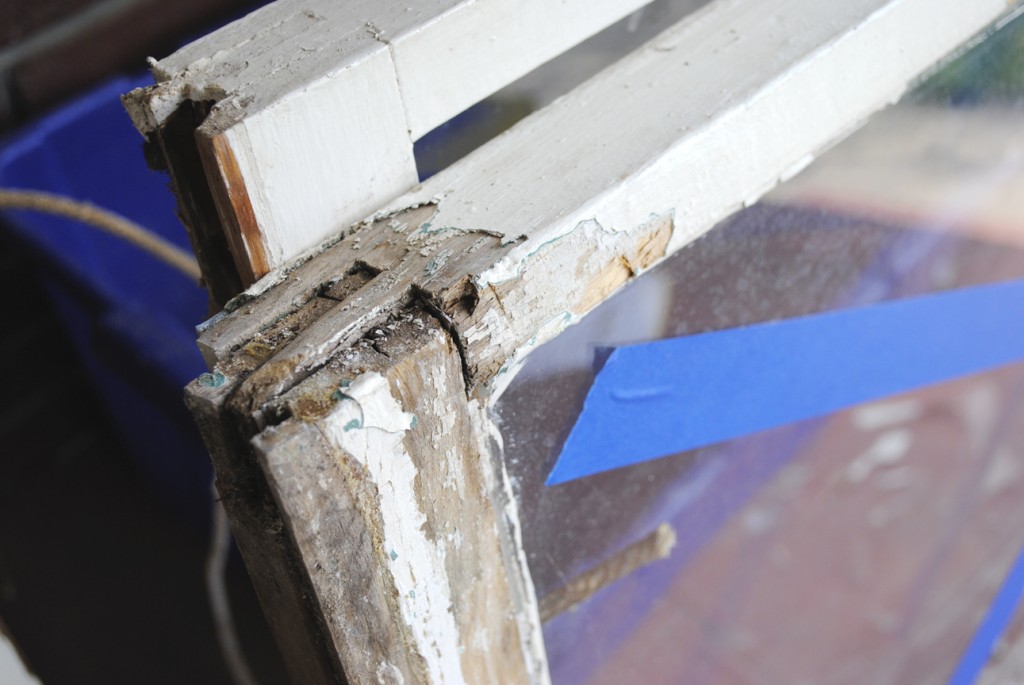
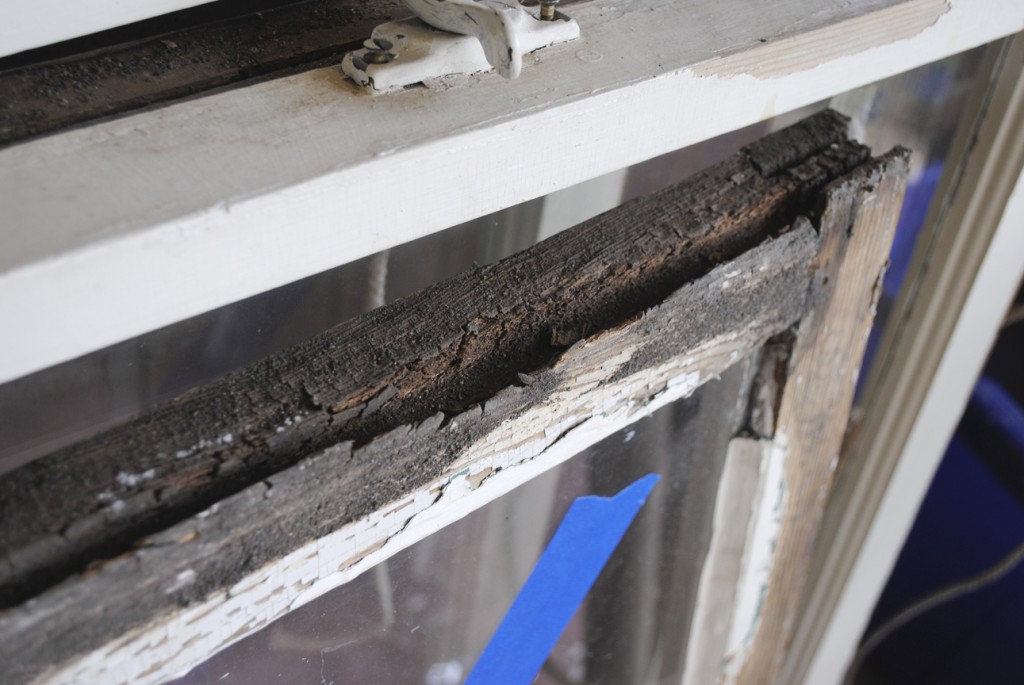
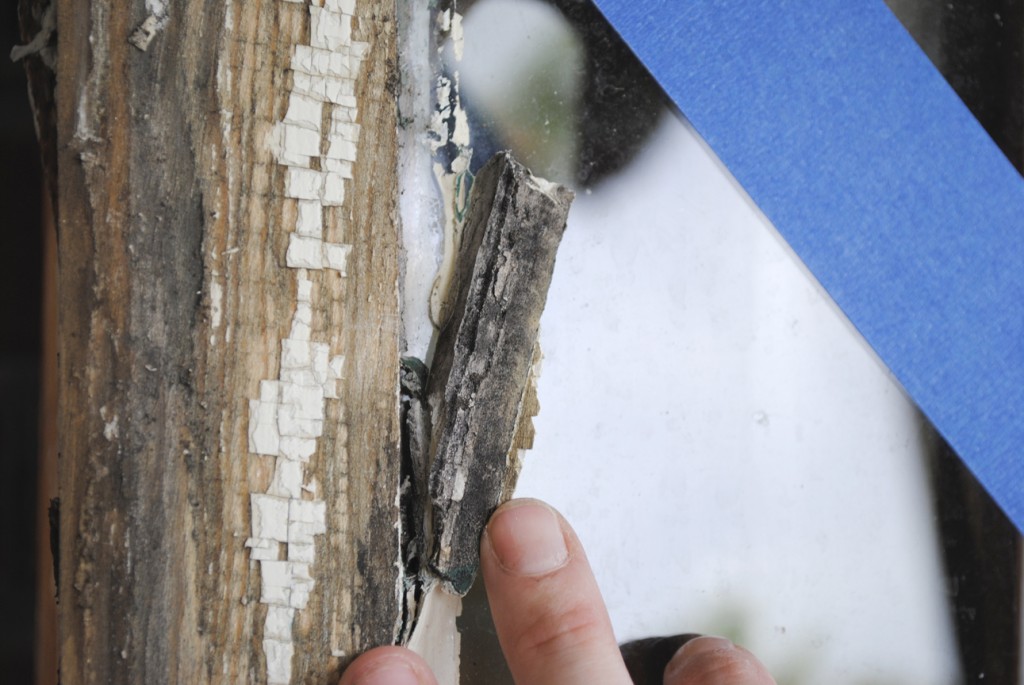
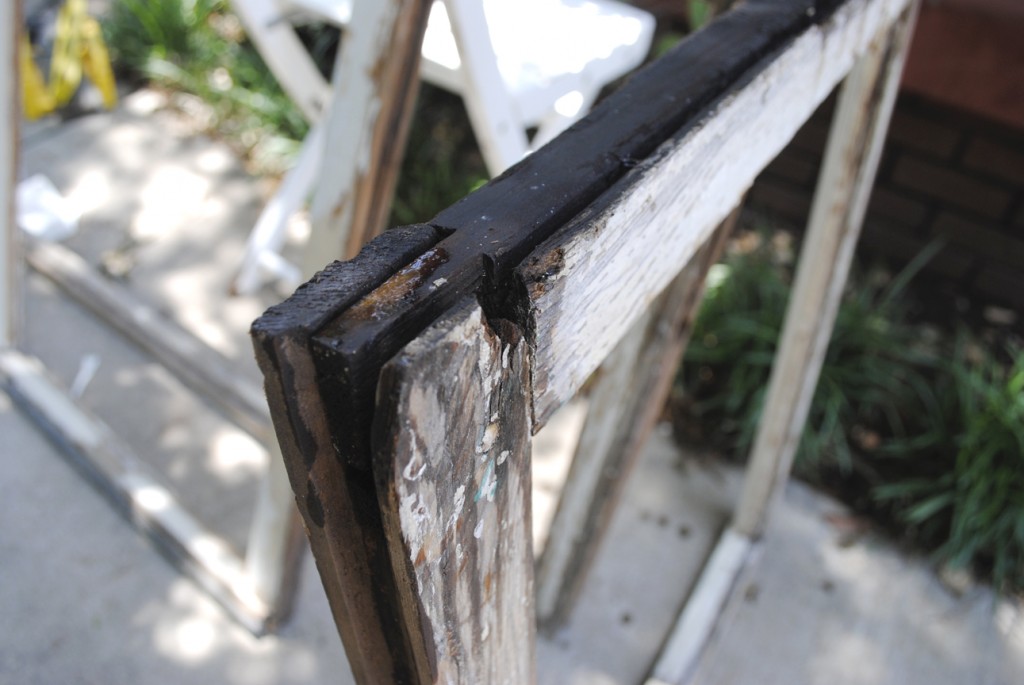
While Jeremiah and his dad were building the casing, I worked on the sashes. Every one of them had rot at the mortise and tenon joints and needed to be re-glazed. Not only was the glazing cracked, but it had started to mildew and – like the casing frame – most of it was held in by the paint.
The book, and the Internet, recommended the Abatron Wood Restoration Kit. It’s a set that includes the liquid epoxy LiquidWood that restores rigidity and strength to rotten wood and WoodEpox that works as a sandable, paintable wood filler.
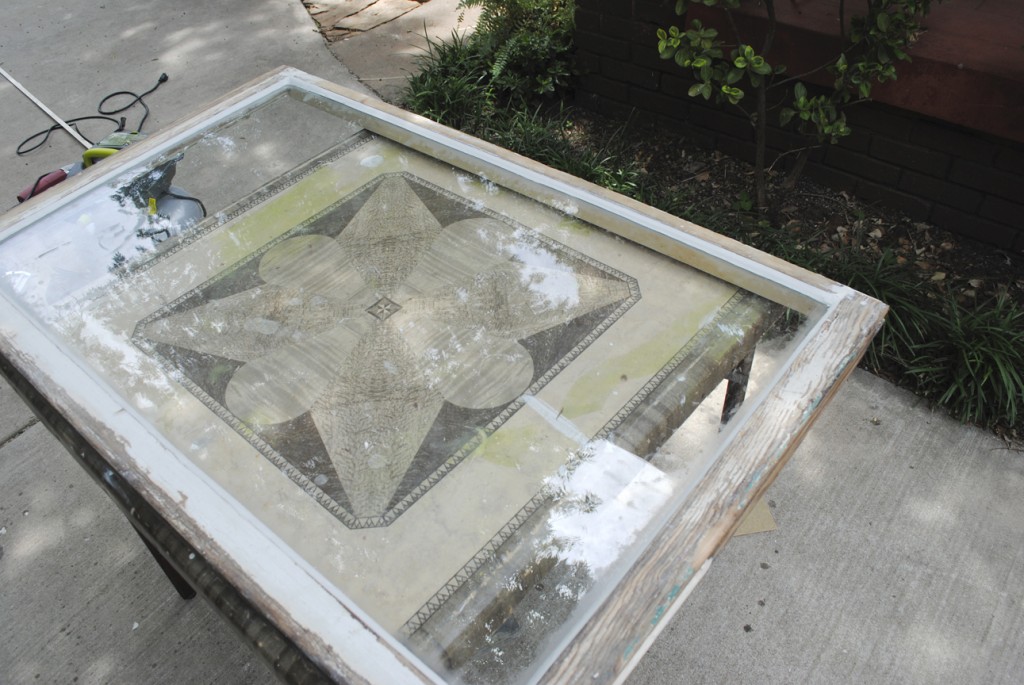
After letting the LiquidWood fully cure, we secured the corners with diagonal dowels and then filled it with WoodEpox. Once it was fully hardened we were able to sand it down and prepare it it for glass. We managed to save four of the six pieces of original glass, with only the two outer upper sashes needing new glass. We bought this house in large part because it retained so much of its originality and are trying very hard to preserve everything we can.
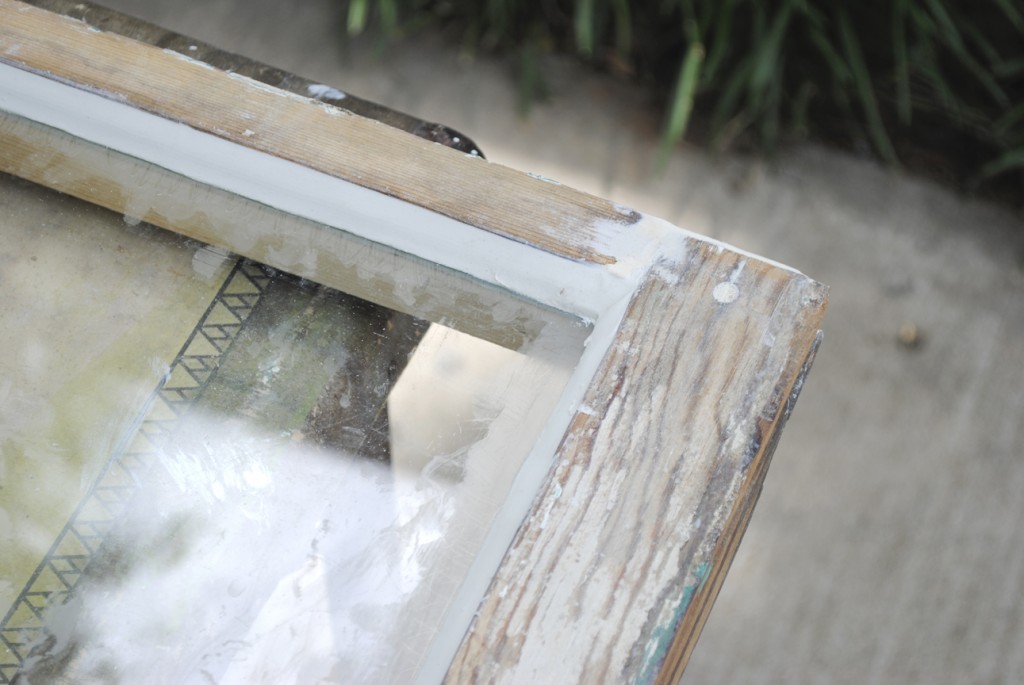
Glazing compound is a putty used to seal the edges of a wood window and there is a bit of learning that went into this. Though four sashes were completely reglazed, two had glazing that wouldn’t budge and I didn’t want to risk breaking the original glass so I just glazed over it. All of them turned out looking very professional and much better than when I started.
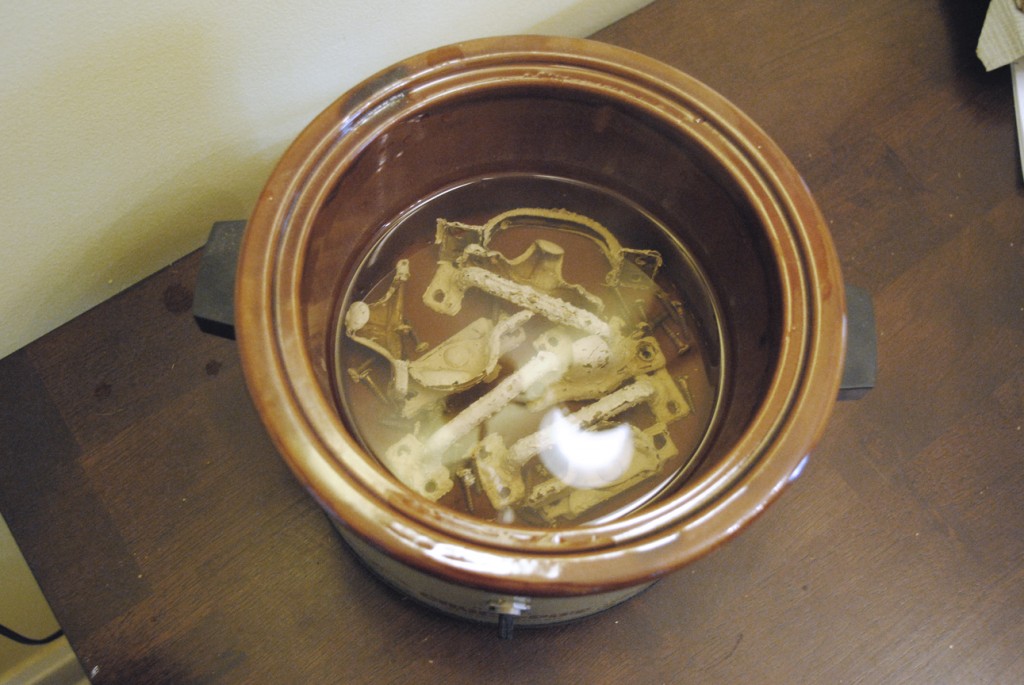
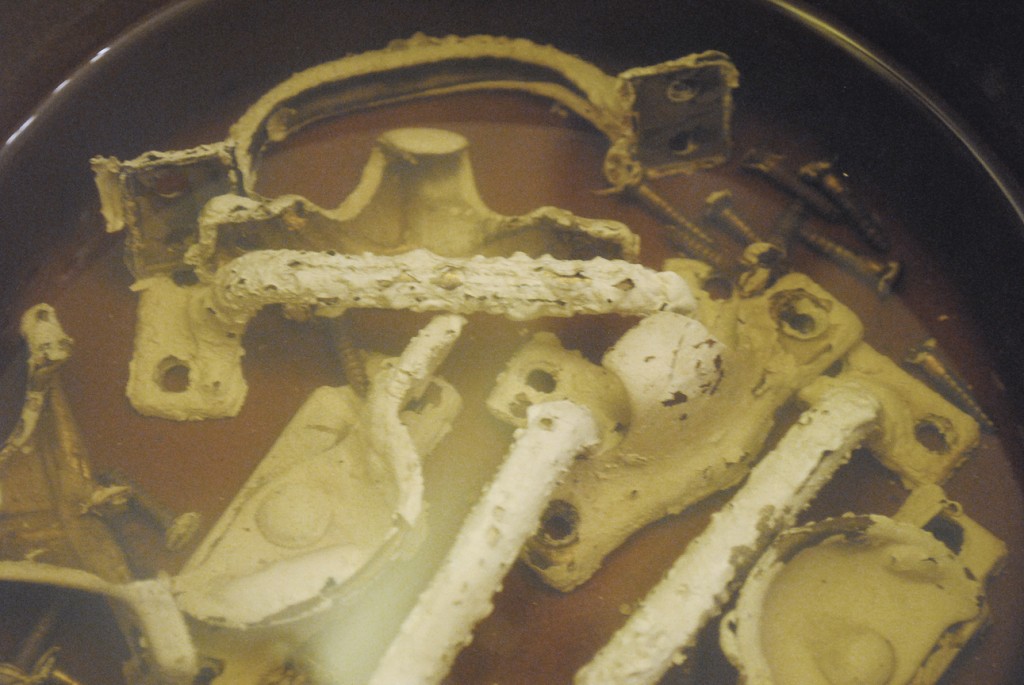
I also had to strip the hardware, which I did with the help of a Crock-Pot older than me. No chemicals, just water and heat for 8+ hours. Pretty easy and worked like a charm, the paint practically fell off when I lifted out the pieces. It does get pretty hot so protective gloves and the use of tongs are a good idea.
Read more about this project…
- Part 1: Discovery & Demolition
- Part 2: Casing Frame Installation
- You’re reading Part 3: Rotten Sash Repair
- Part 4: Sash and Exterior Trim Installation
- Part 5: Interior Wall Repair (because of course the plaster is falling off too)
- Part 6: Interior Trim Rehab & Installation
