Windows Pt. 5 – Interior Plaster Wall Repair
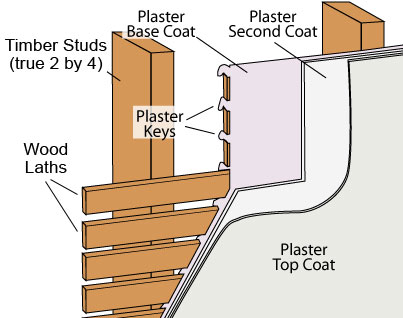
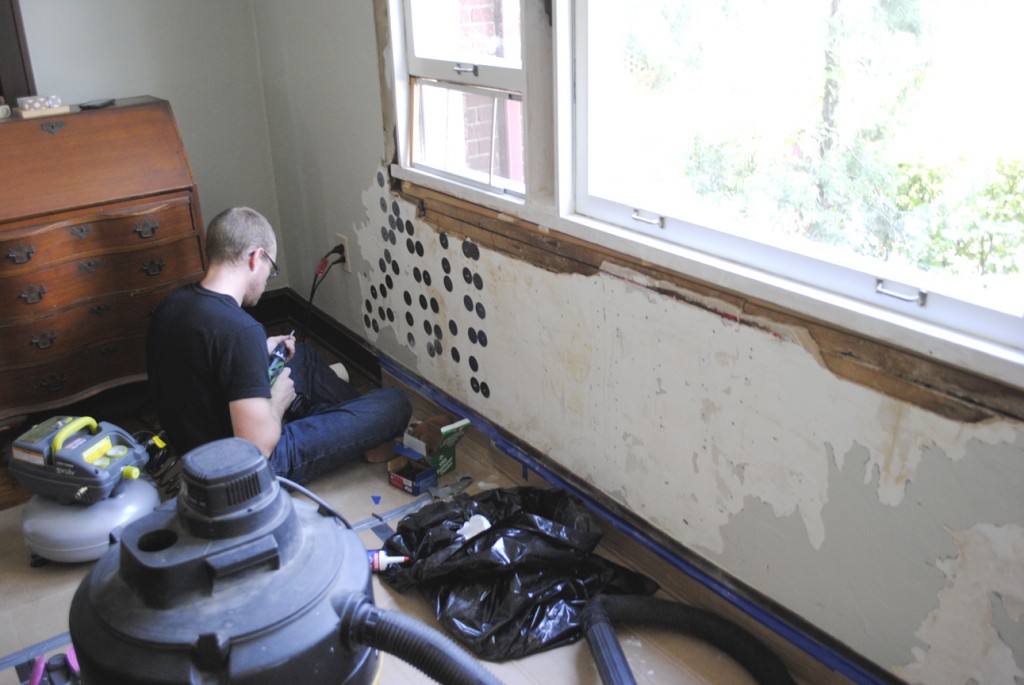
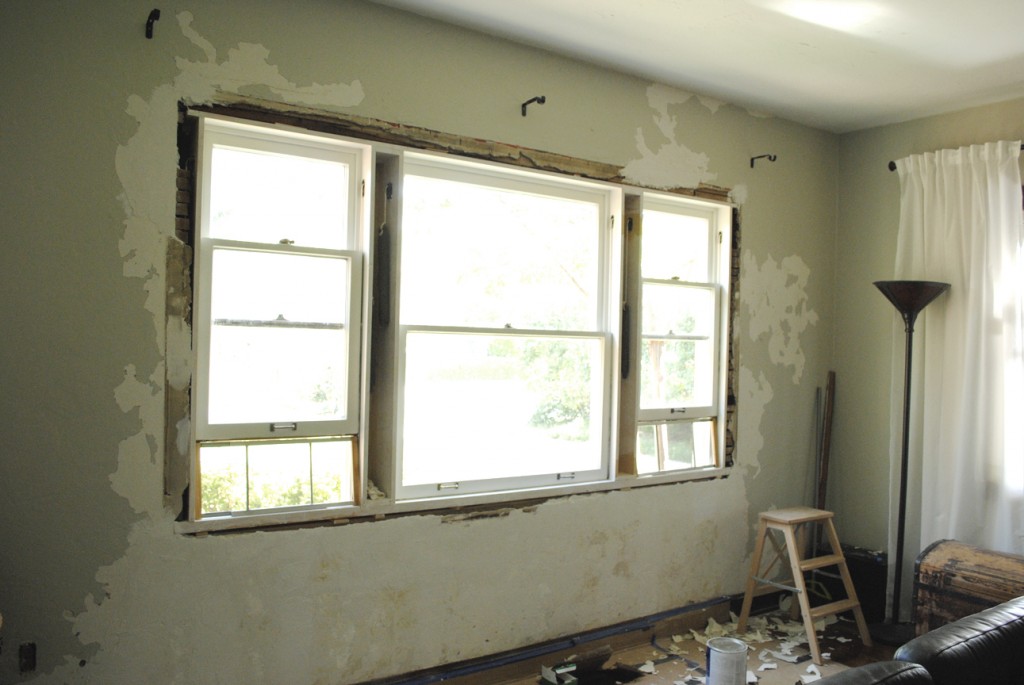
Because when it rains it pours, as demonstrated on day two of this three-month project, the water and neglect had caused the plaster keys to break which allowed the wall to bow out significantly. The cracks this caused were masked with drywall texture some years back but the wall was never properly repaired.
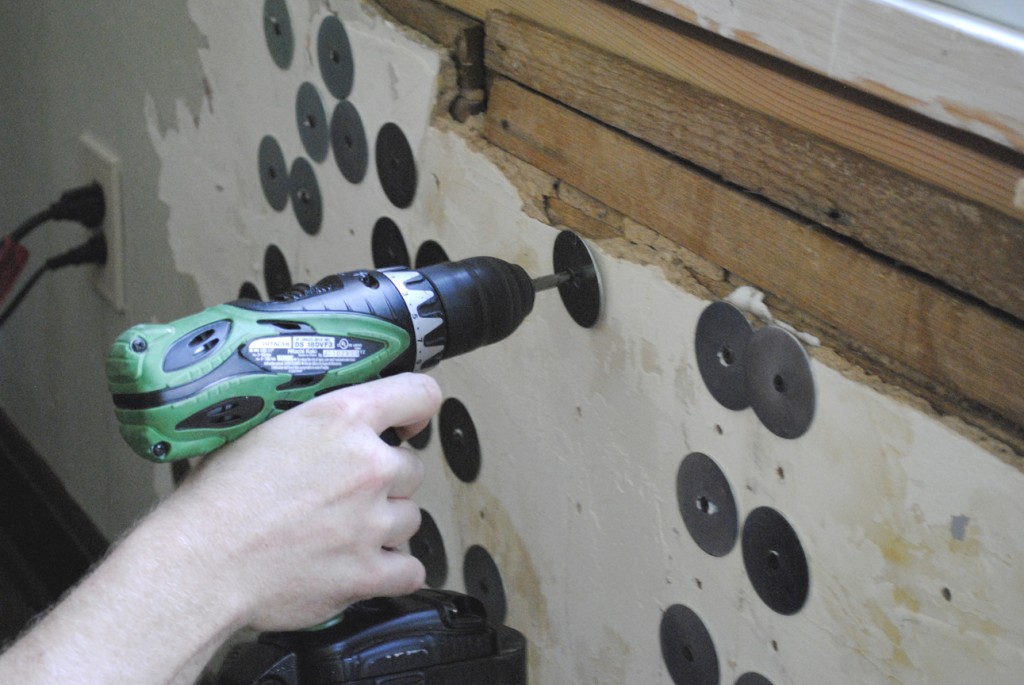
Traditional plaster washers are a good idea but they require re-plastering the entire wall to cover them. Not wanting to do this, Jeremiah found a good solution that required drilling several holes through the plaster to the lathe, filling the holes with strong construction adhesive, then using screws and fender washers to pull the plaster back to the lathe until the adhesive cured. This worked like magic.
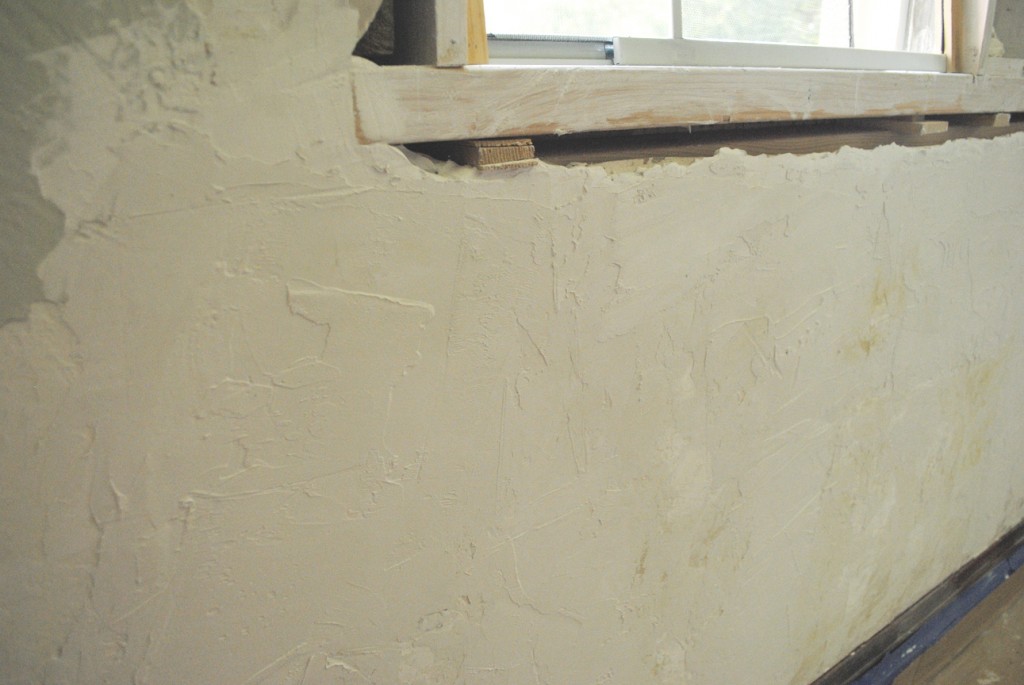
After the adhesive was dry, we removed the washers and Jeremiah started building back the wall. For the larger holes he used mold- and mildew-resistant drywall board but in other places he just built up the plaster using joint compound and drywall mud. Once it was dry, he taped the cracks and smoothed a coat over the entire lower wall and parts of the upper wall. Unfortunately we don’t want to tackle un-texturing the entire room yet so we opted to just hand-texture the repaired portions with the intention of smoothing the walls sometime in the future.
The paint wasn’t stuck to the original-not-original texture so rather than paint over peeling paint, I scraped as much loosened paint as I had patience to do before I primed with two coats and repainted the wall.
Now for the trim.
Read more about our window restoration project…
- Part 1: Discovery & Demolition
- Part 2: Casing Frame Installation
- Part 3: Rotten Sash Repair
- Part 4: Sash and Exterior Trim Installation
- You’re reading: Part 5: Interior Wall Repair (because of course the plaster is falling off too)
- Part 6: Interior Trim Rehab & Installation
