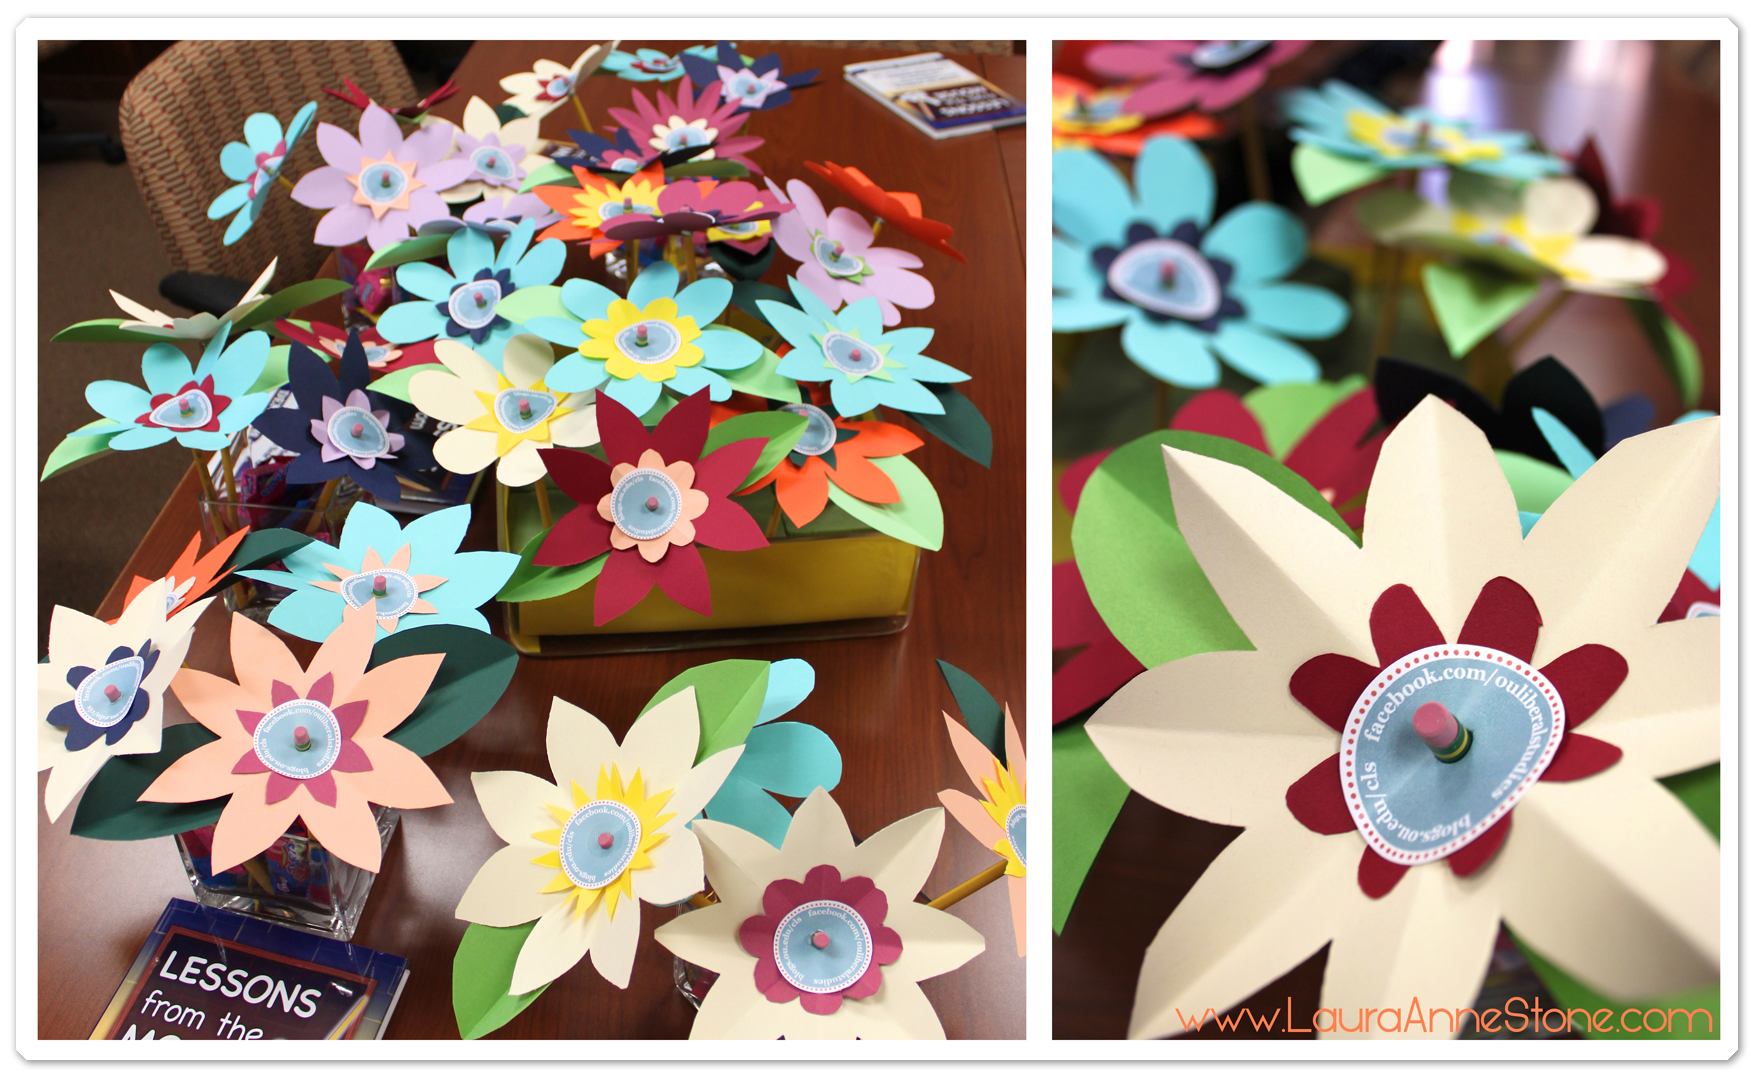
Paper bouquet just in time for Spring!
When it comes to keeping the attention of coworkers during boring monthly meetings, I’m not above bribing them with candy and bright colors. These quick homemade promotional flowers with our blog and Facebook addresses turned out even better than I imagined!

They are a great use of your less desirable or stockpiled cardstock, plus they’re surprisingly simple! If you can make snowflakes, you can make these!
You will need:
- Time and/or helpers
- Scissors
- Cardstock of all colors (for the 3- to 4-inch flowers shown, I used 12×12-inch cardstock, cut in quarters; I cut a few of the quarters into four even smaller quarters for the centers, really you just want something about half the size of your larger pieces)
- Pencils (or straws, pipe cleaners, sticks, whatever suits your needs and budget)
- Glue (just in case your pretties don’t stay put just right)
Instructions:
- Fold cardstock in half on the diagonal and keep folding it into smaller triangles like you would to make paper snowflakes; fold it as much as you want, just remember you’ll be cutting through it, I only folded them four times; going over the folds with the edge of a pencil to crease them will give your flower more depth.
- Cut your petal shape, this can be rounded at the top, a deep V down the center, or a pointed tip; just remember when you hold your folded paper by the point, the sides should be pretty symmetrical or you’ll end up with a squared flower.
- Follow step 2 with your smaller center pieces, these pieces can be pointed or rounded just the same as the larger petals, or even just cut into circles if you are making tiny flowers.
- Leaving the paper folded, snip off the point to about 1/4 the size of your stem; on your first one, open the folds and test-fit your stem, if it’s too small, fold it back together and take a little more off but remember you can always take more off but you can’t put it back on so only take a little at a time; use your first one as a guide for how much to take off all the others, including the centers.
- Unfold and admire your handiwork, your hands could probably use a break for a minute or two.
- I found it easiest to stack the petals and the centers (and my promotional center piece) and run the pencil through all at once, this helped keep the holes from spreading or tearing.
- To keep them in place, add a dab of clear-drying glue to the top and bottom of the paper just to secure it; I found trying to glue the pieces together maddening and actually flattened them out more than I wanted, so just securing them was much easier.
- Set your flowers upside down to dry or set them in a vase or bottle, just try to avoid moving the paper vertically on your stems until the glue has set.
I used candy in small cube vases to hold them upright and the results were just delightful. I can’t wait to make these for other occasions!
I know they aren’t too complicated but I’ll try to post some small thumbnails in the tutorial, I just need to get them off the camera first! These were just too cute not to share right away!