Windows Pt. 6 – Interior Trim Rehab and Installation
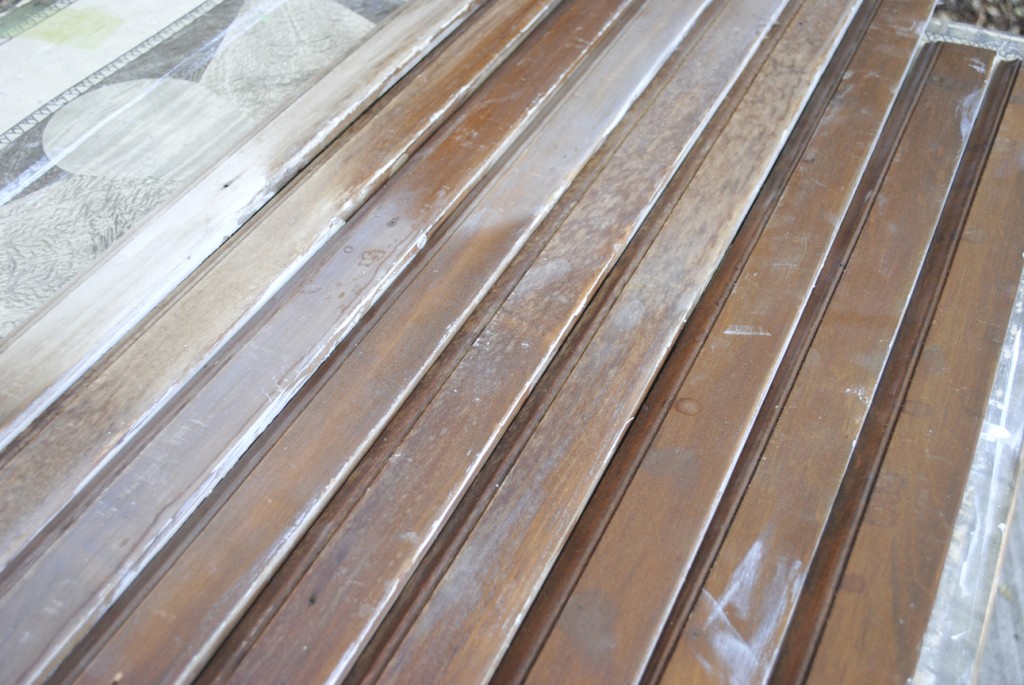
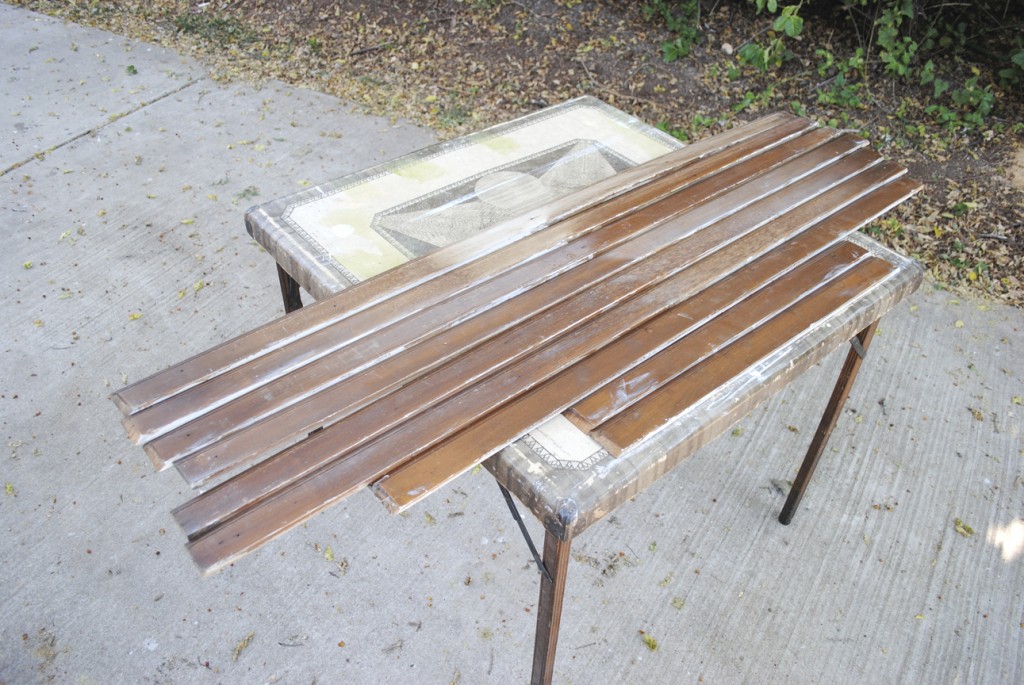
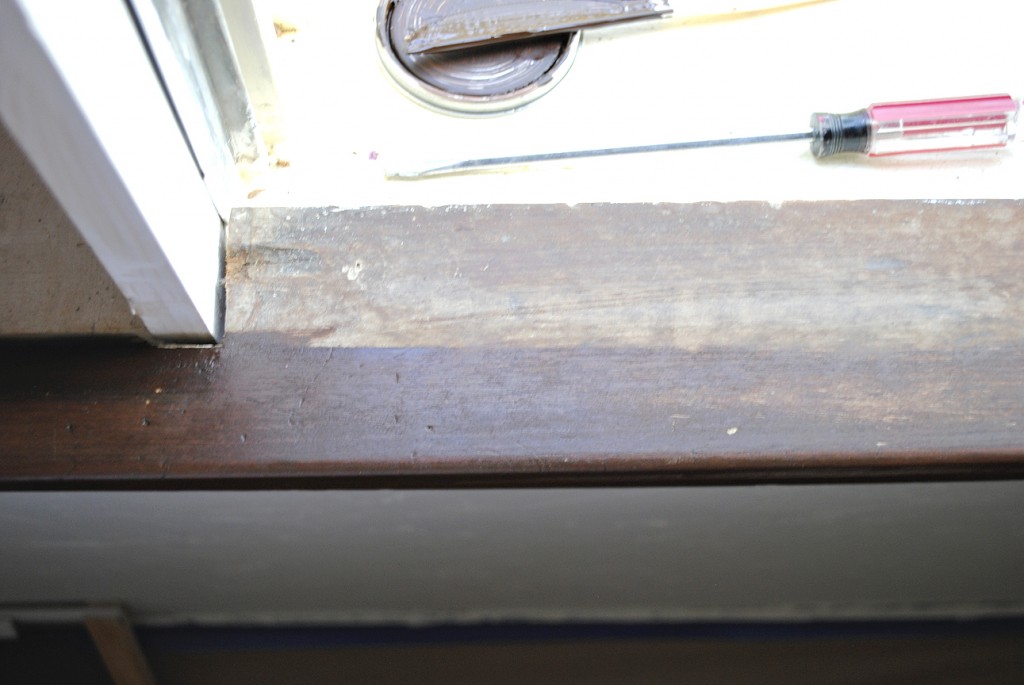
… And speaking of trim, the combination of water damage and bright north sun proved too much for it and nearly every piece was damaged. Mottled water spots, drip stains and overall bleached and dried, we weren’t sure what we could do without completely stripping and re-staining them, which would mean doing the entire set – and possibly the rest of the room’s trim – to ensure a consistent finish.
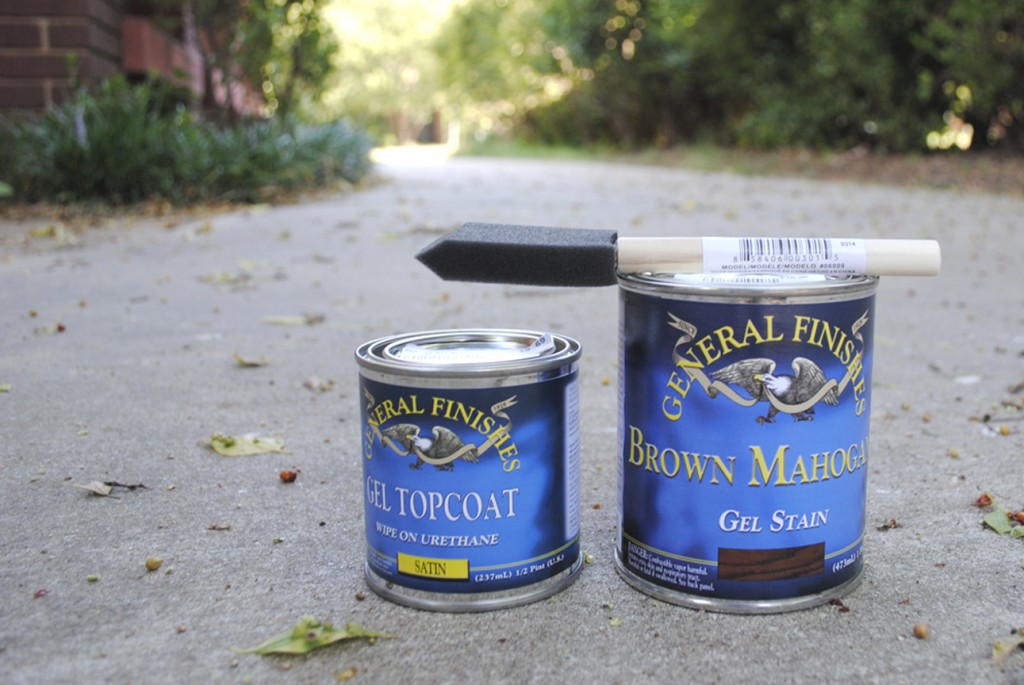
I took the two worst pieces, one bleached and one mottled, as well as a “good” piece (none of them were all that great) to Woodcraft to see if they could help. They suggested a gel stain because they sit on the surface and are good at blending wood finish colors. They were also able to confirm that the wood was likely real mahogany. Yowza! Imagine the cost to trim an entire house in that nowadays.
ARE YOU FREAKING KIDDING ME?! This stuff was amazing!
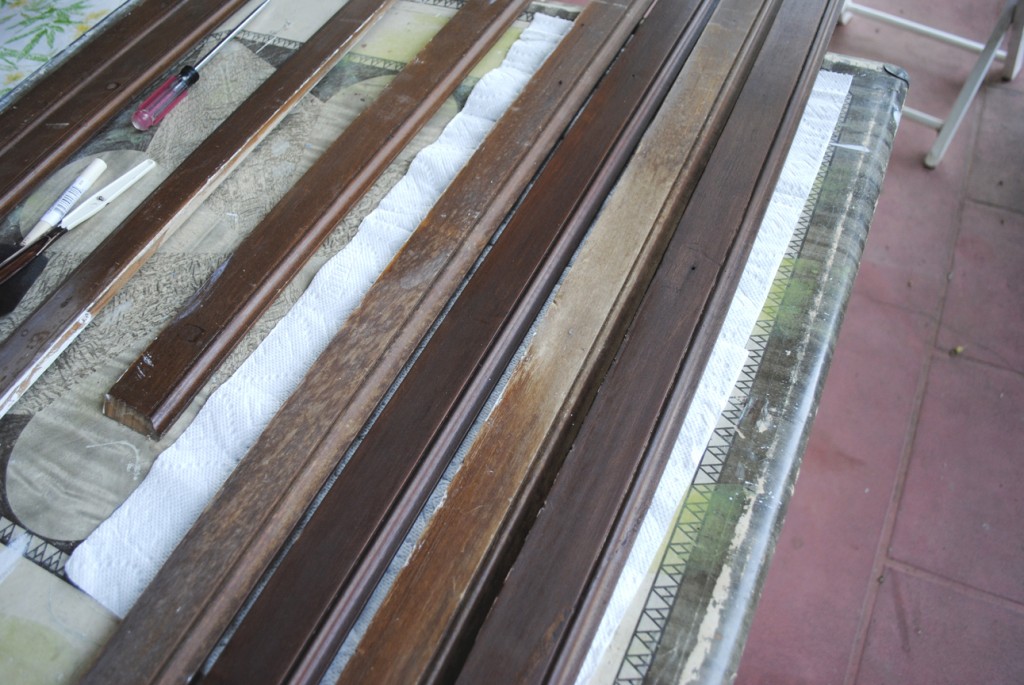
The two worst pieces near the two next-worst pieces, it makes the not-as-bad pieces look like total garbage
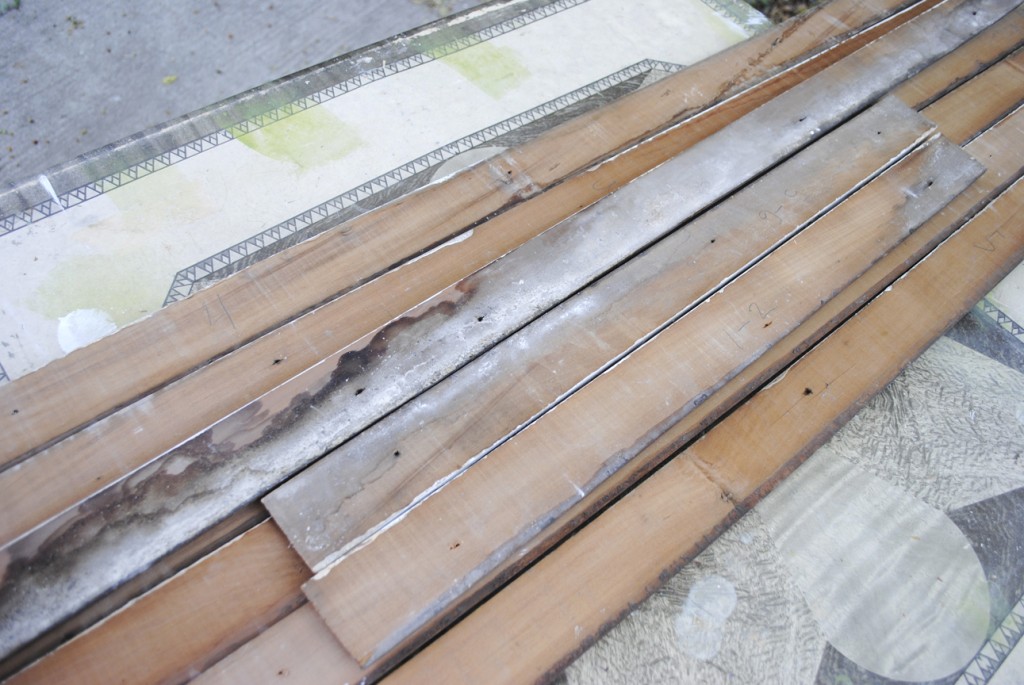
So with all the pieces reconditioned and with holes filled, it was time to install. Thankfully the genius who removed them thought to number them so we didn’t have to guess what went where.
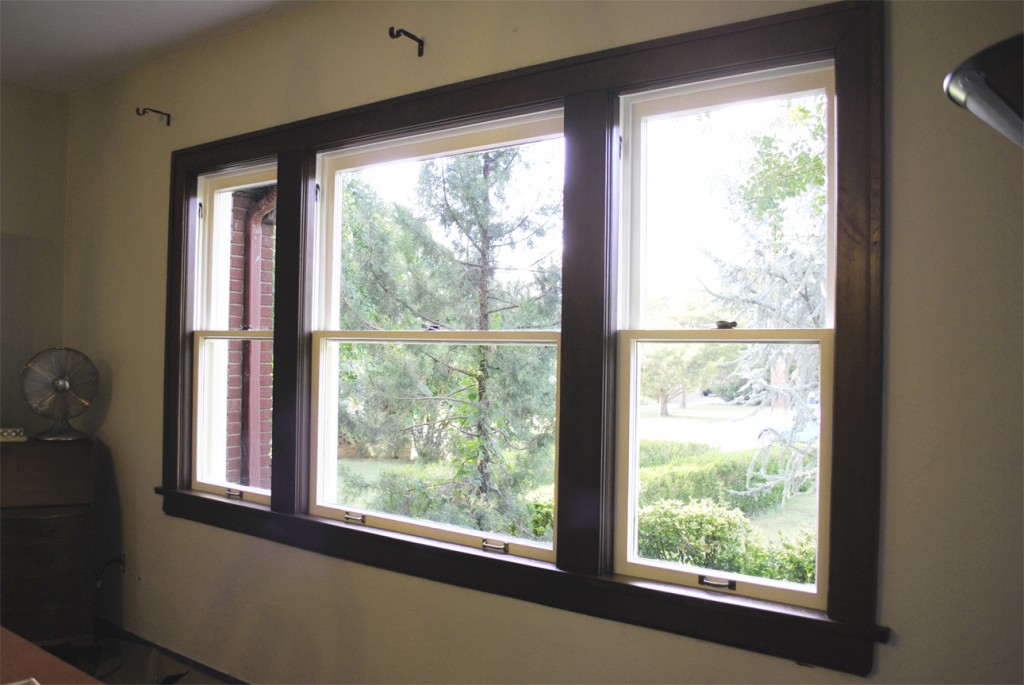
I can’t really express in words how happy I am to have the windows back and working and as beautiful as I assume they must have been in 1928. Just one of those would have been exciting, but all three is almost overwhelming.
Now…. what else is on that to-do list….
Read more about our window restoration project…
- Part 1: Discovery & Demolition
- Part 2: Casing Frame Installation
- Part 3: Rotten Sash Repair
- Part 4: Sash and Exterior Trim Installation
- Part 5: Interior Wall Repair (because of course the plaster is falling off too)
- You’re reading: Part 6: Interior Trim Rehab & Installation
